


Let’s be honest, STEM can be intimidating to adults, so of course it’s not surprising it is for kids too – especially for those who haven’t been exposed to the topics often. Trying new things can be scary, so a perfect way to overcome any fears is to introduce new ideas in creative ways.
Paula Bendfeldt-Diaz, an author for the Growing Up Bilingual blog, curated her favorite STEM projects she made with her son. Check out her projects below, and download our Spring Activity Guide for more fun projects to do with your family.
Here are her top picks:
Build a battery out of fruit and explore how electric circuits work and whether or not chemical reactions create electricity. (It does.)
Materials:
- 3-4 lemons (limes, oranges and other citrus fruits work too)
- galvanized nails
- copper pennies
- alligator clips
- LED light
Instructions:
- Start off by rolling your lemons, limes or oranges to break the juice pockets in the citrus fruit and make sure they are juicy inside.
- Carefully use a knife to make a small incision in each of the citrus fruits. Insert the penny into the incision and insert a nail in the opposite end of each fruit.
- Using the alligator clips connect a penny in one of the fruits to the nail in another one of the fruits and vice versa. You will be left with two free clips at each end of your battery.
- To close the circuit, attach each one of the clips to each one of the wires on the lead light.
- If the LED light does not light up try switching the alligator clips to opposite wires on the LED light, you can also try using more fruit to create a stronger electrical current or use different fruits to test what fruits will produce more energy by using a voltmeter.

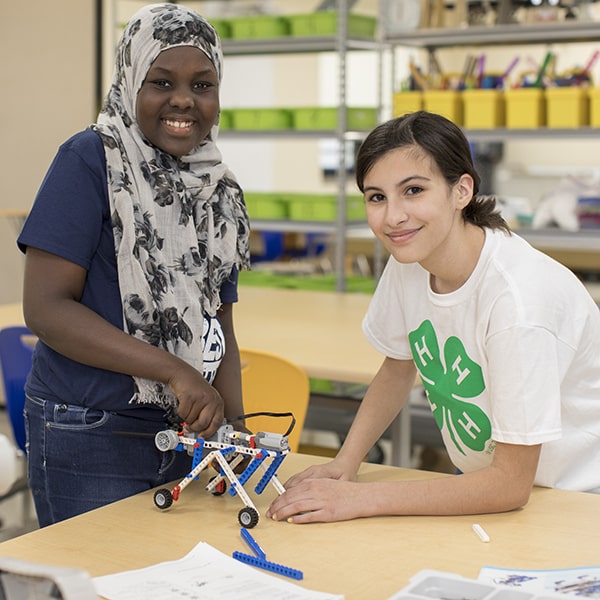
You can create an easy robot at home that will teach kids basic concepts about motors and engineering concepts. Paula originally followed the 4‑H Inspire to Do Activity Guide, but her son ending up making some changes to the original concept and create his own invention – we’re going to share their instructions!
Materials:
- an AA battery
- washable markers
- a paper or plastic cup (Paula’s son tried this with a can to give it a more metal robot look)
- a copper wire with stripped ends or alligator clips
- a DC motor
- rubber bands
- electrical tape
- Paula and her son added: pipe cleaners for the hands
- a popsicle stick
- gear to attach to the motor
- aluminum foil
- googly eyes (optional)
Instructions:
- Attach the popsicle stick to the motor then attach the motor and the battery to the top of your cup using the tape. Then connect the copper wires or the alligator clips to the connectors on the back of the toy motor. Secure them with tape or rubber bands to keep them from getting disconnected.
- Secure the toy motor to the top of the cup using the tape, then tape the battery to the top of the cup. Tape one of the copper wire ends to the + side of the battery (or the alligator clip). Touch the second copper wire or alligator clip end to the – side of the battery and watch your robot go!

Growing herbs connects the family to the earth and teaches kids how plants grow. It’s also a great way to get the family cooking with different herbs and tasting new flavor combinations! If you don’t have outdoor space or are just a little weary of starting a full garden, start small by growing herbs in mason jars first!
Every herb is different. Some need more water, some like direct sunlight while others like partial sunlight or shade. Before planting, do some research online or at your local library and find out what each herb needs. If you plan on cooking with your herbs (of course you are!) also think about what kind of dishes you’ll be cooking and how your herbs will incorporate into those.
Don’t forget to check out more activities to do with your family by downloading the Spring Inspire Kids To Do Activity Guide!